-
 My Beresford TC-7520 project...
Back to the beginning - For my PC based music I had a Beresford TC-7520 DAC doing the duties, a week or so after the purchase I opened it up for a looksy. Within a week I'd replaced the usual done Burr-Brown PCM1716 DAC chip for the Wolfson WM8716, DAC analogue caps for Muse KZ's, direct output op-amp to LM49720HA tin hat and LM4562NA for the variable, together with Muse Bi-Polar for coupling. That lasted a few weeks and then I thought about linear PSU's, one for 5v and one for 12v, a pair of TeddyRegs became available and that was it... No going back.
I didn't want a 'separate' box for the PSU's nor did I want to buy a pre-built case, I wanted to do it DIY style - a quick play and I came up with this as an idea and it stuck:
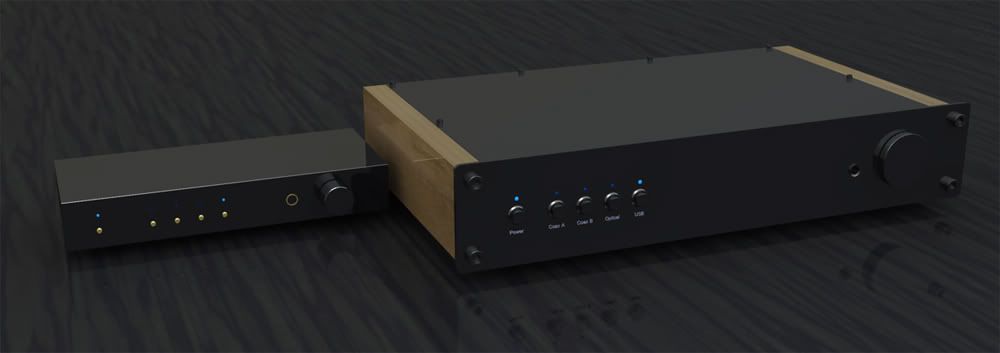
To the left on the render is the standard size of the 7520, to the right is my prospected case.
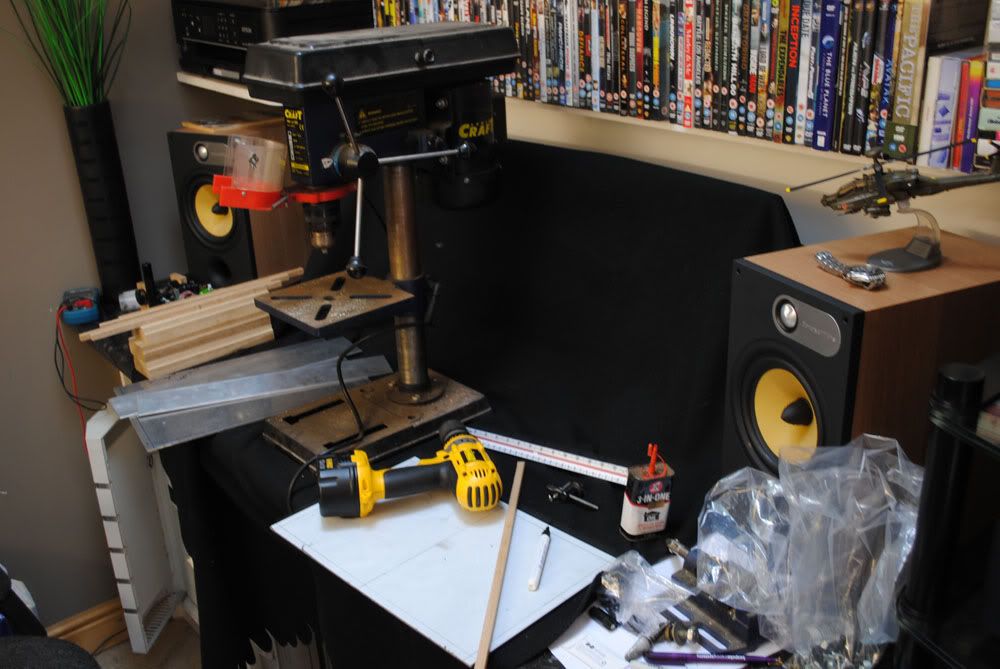
That was it, I was off.... I gave myself a few days off so my desk could become a workshop/mill/dump. 3mm aluminium sheet was ordered pre-cut to my requirements and Oak was in hand, so on I went with the drilling/routing/cutting/filing/sanding.
First up the 'desk' press:
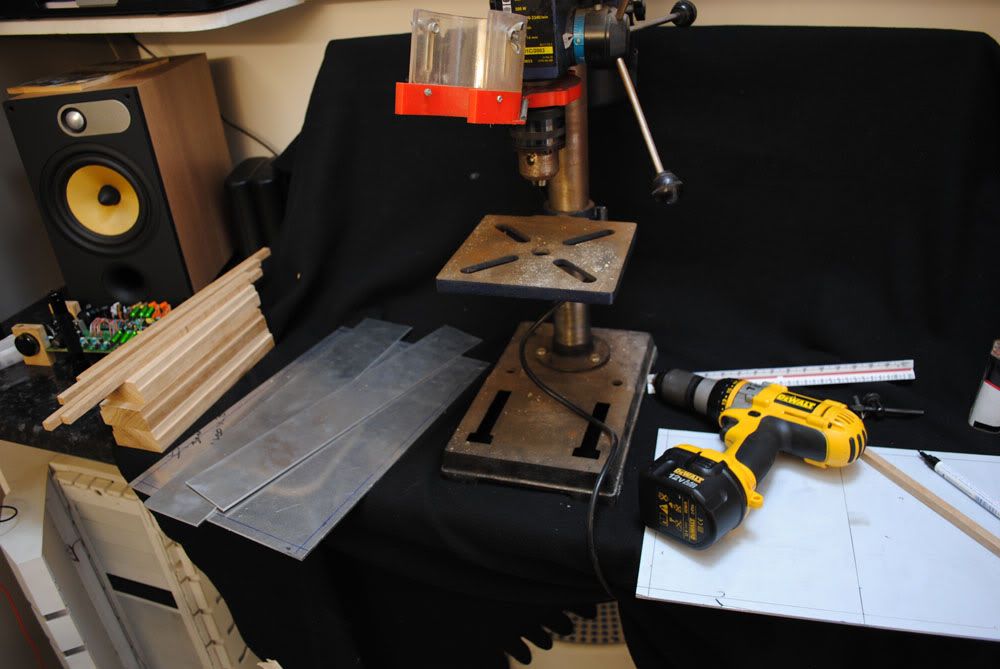
Next the materials (on the left):
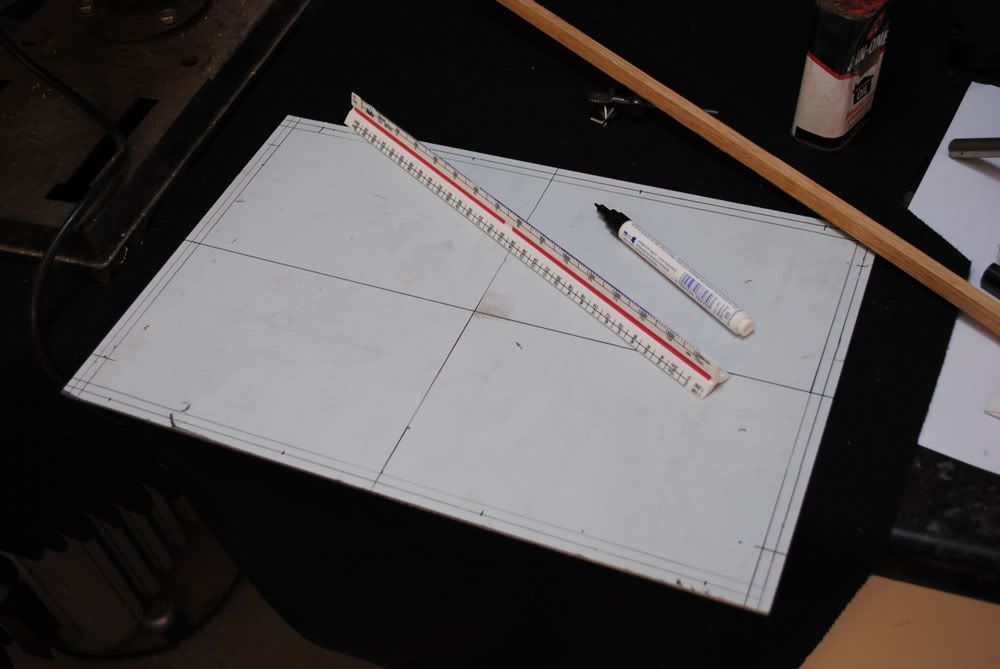
A few markings:
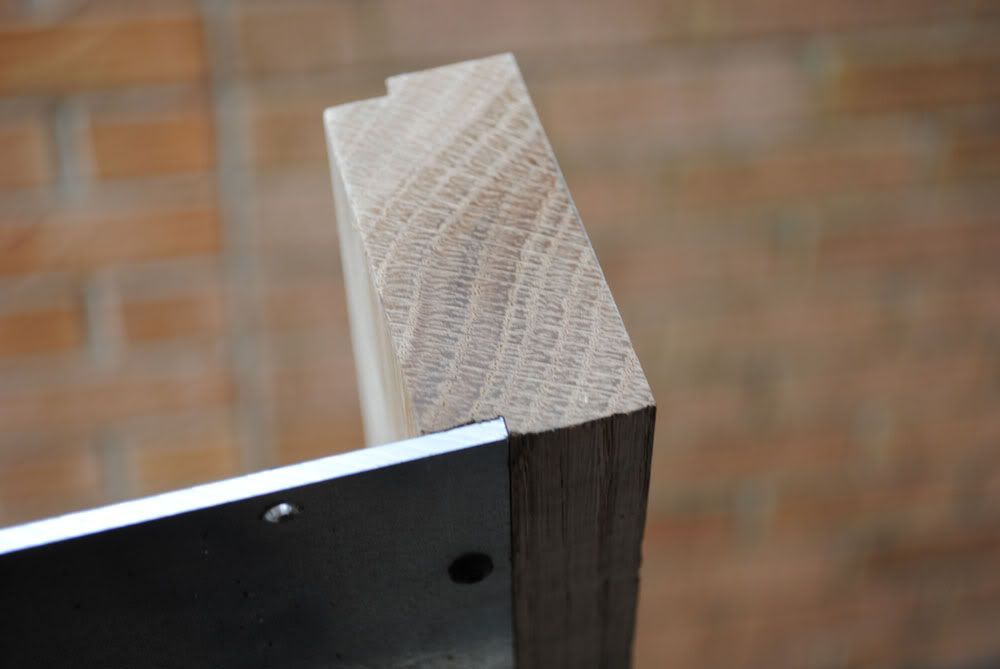
The Oak was precision cut top and bottom to allow the 3mm plate to fit flush (thanks dad):
Top and bottom fixed:
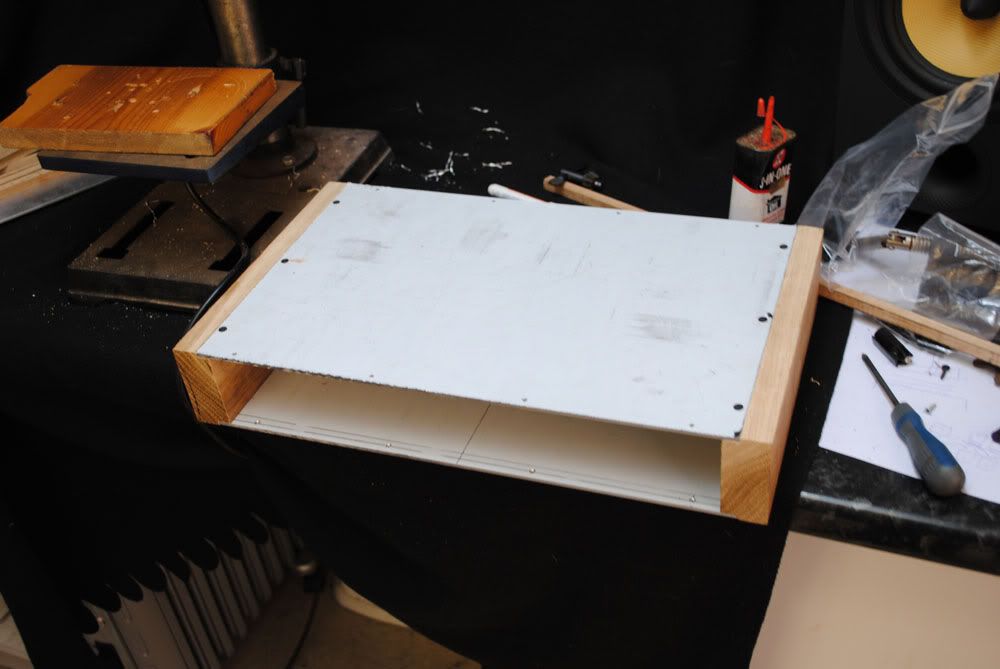
At this point I'd like to add that I required the 'whole' case to be fixed with zero glue or permanent fixings, ready for disassembly come paint time.
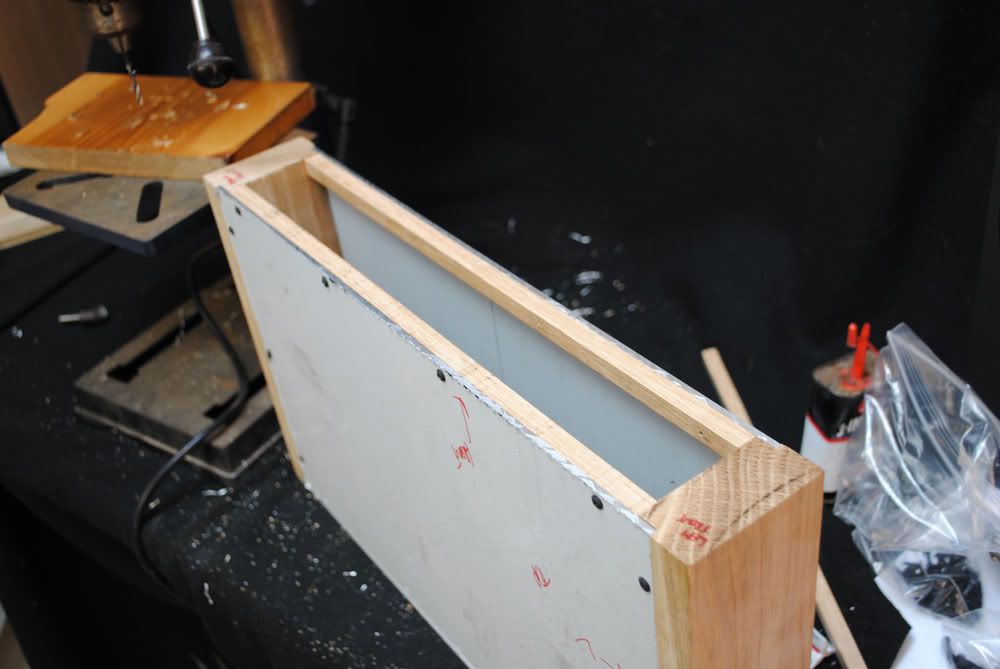
Braces in:
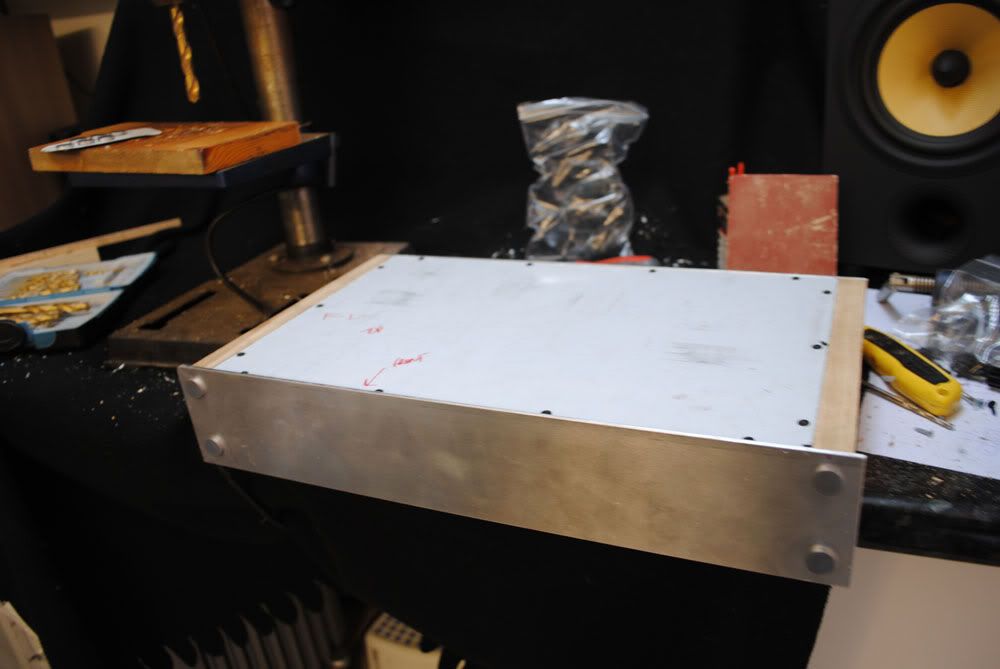
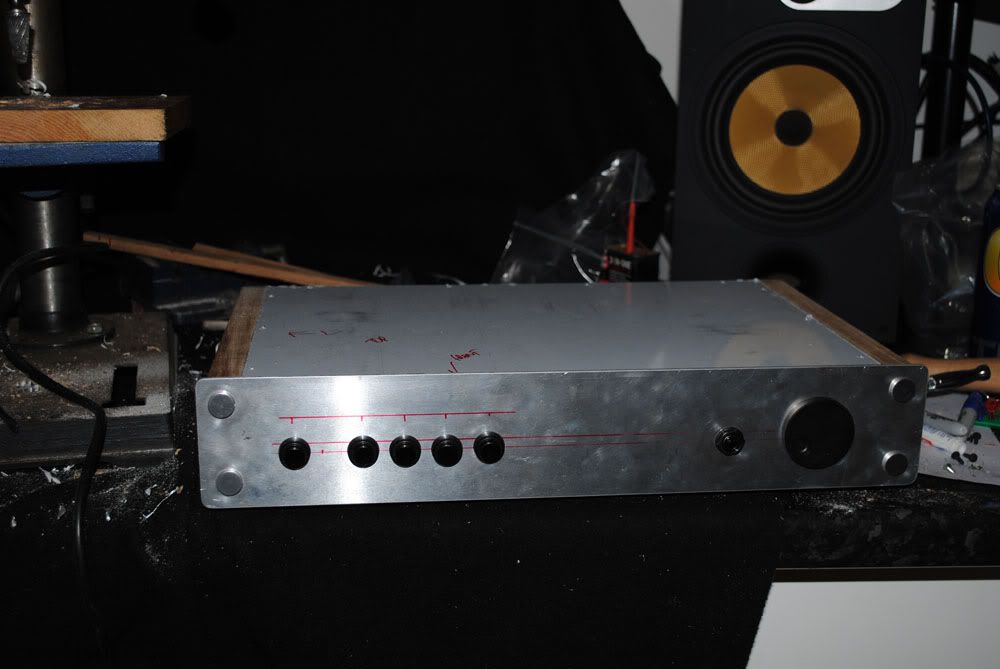
Front panel fixed, 5mm overhang all round:
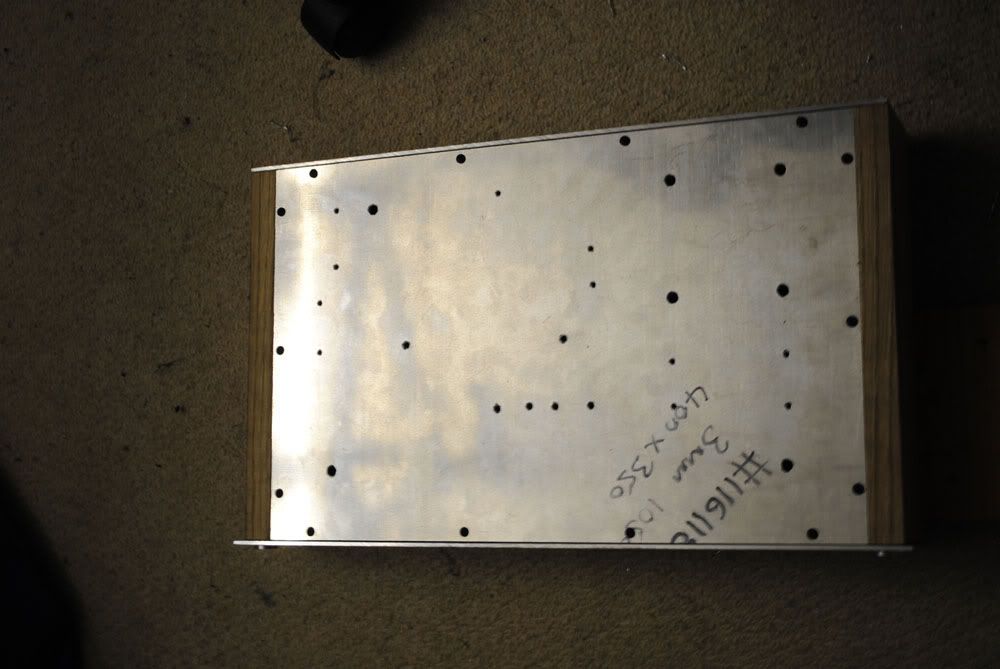
Bottom 'peppered' ready for all the M3/M6 allen bolts:
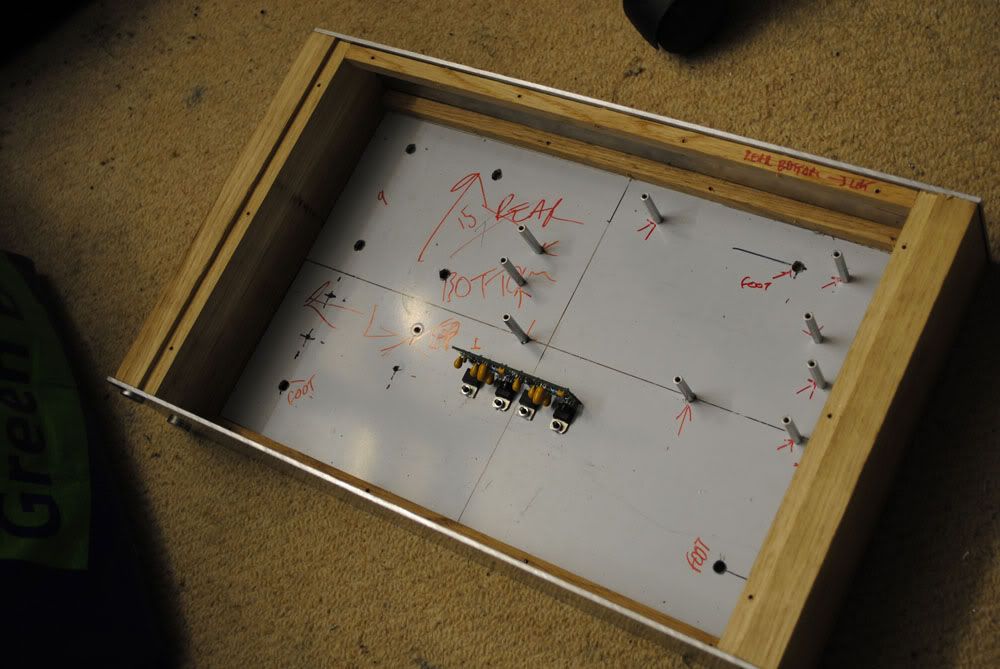
TeddyRegs in place using the base plate as a heat-sink.
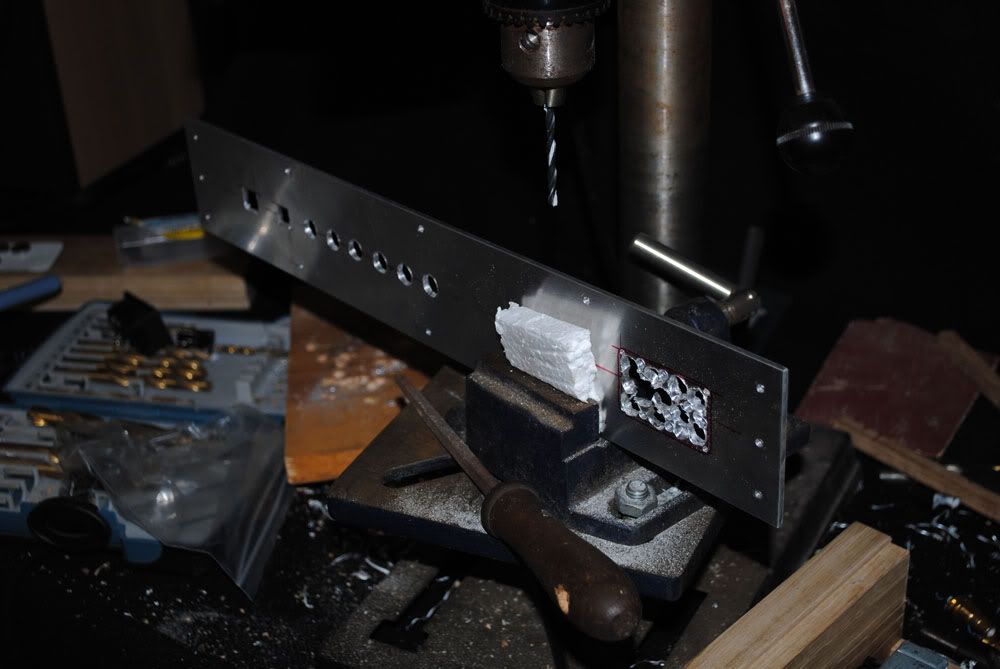
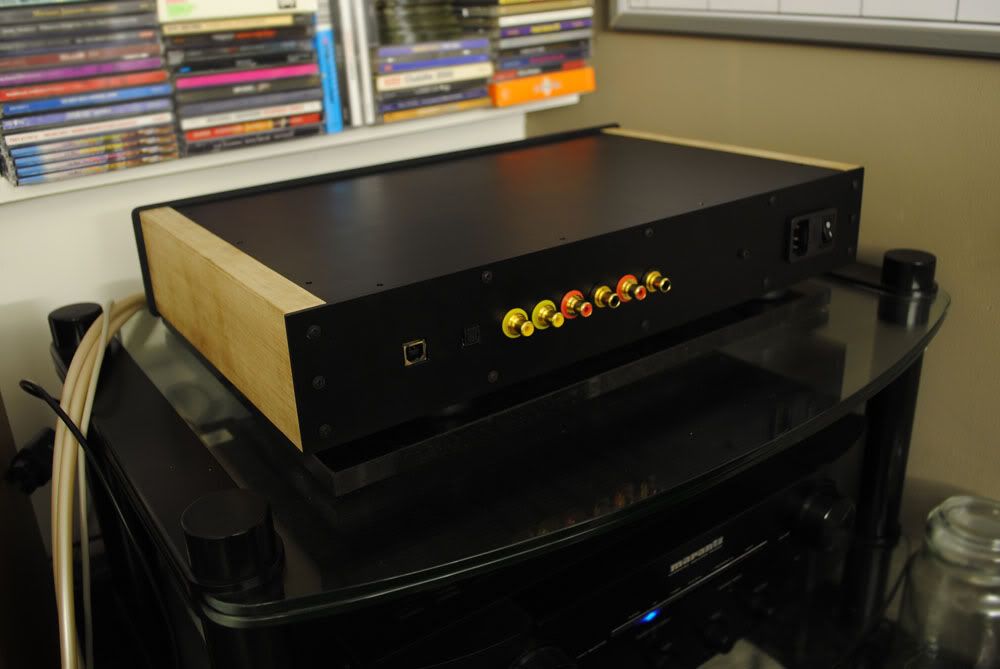
Drilling the rear panel ready for filing the square USB/Toslink/Fused-switched IEC and 6 RCA's:
Almost there:
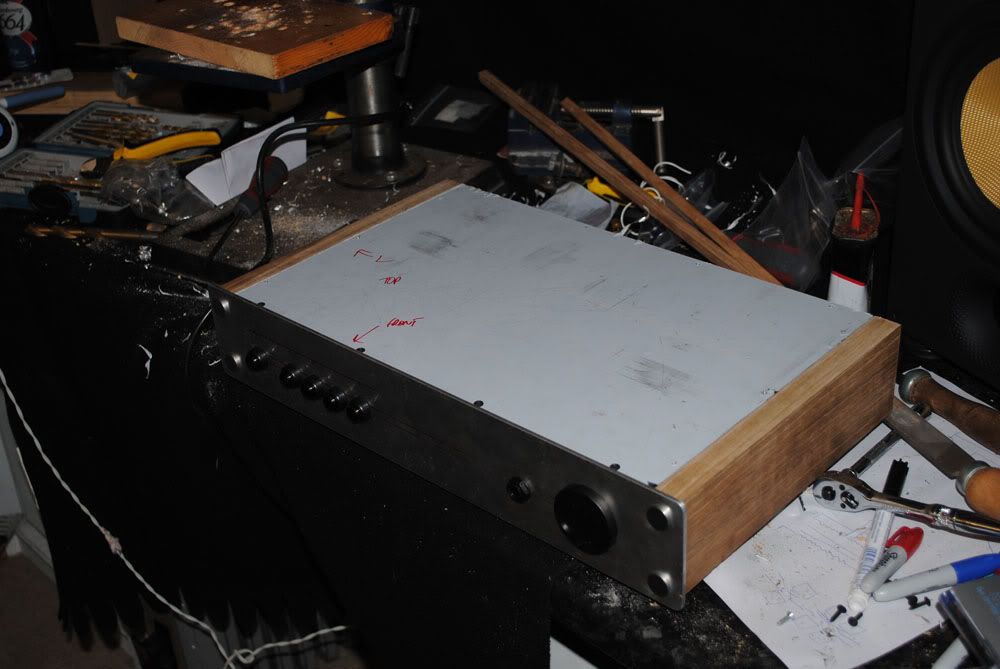
Ready for drilling the LED holes:
All fixings are black M3 allen bolts on the underside, M6 for the feet and trannys and black screws throughout.
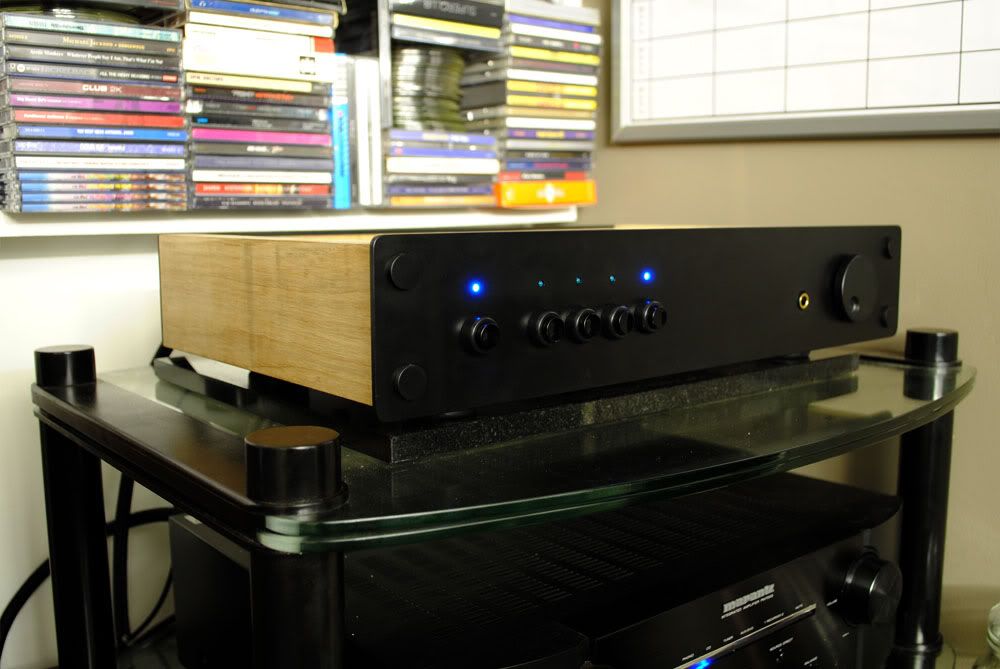
I painted the case myself and not blowing my own but it's flawless - 8 etch primes and 12 satin blacks later and it's mint, I am pleased. Just the Oak to sand and oil and the laser cut decals to apply but here it is:
The back:
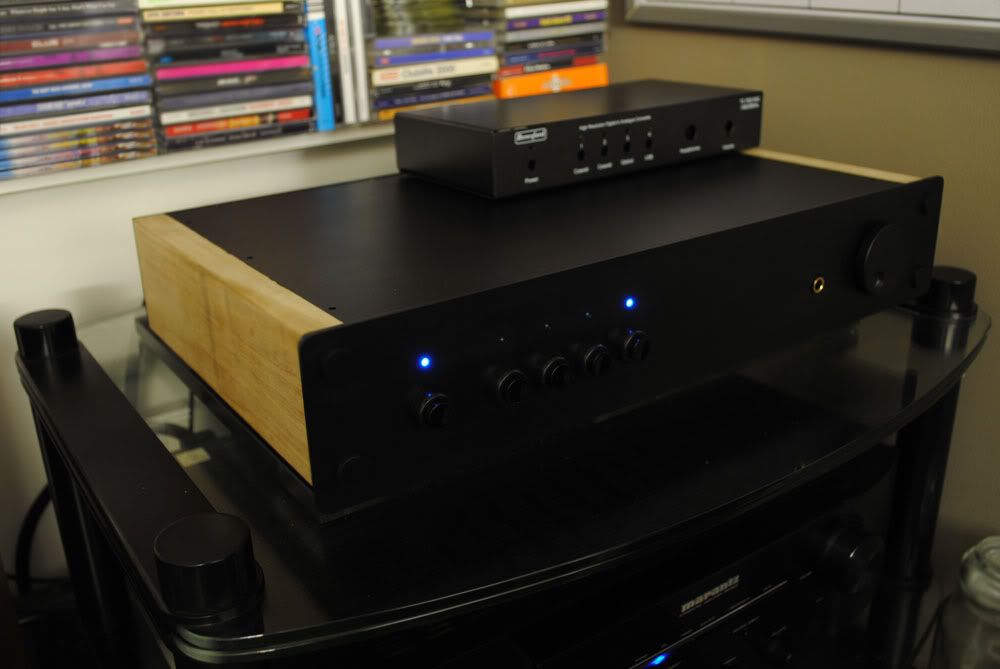
Old on top, new below:
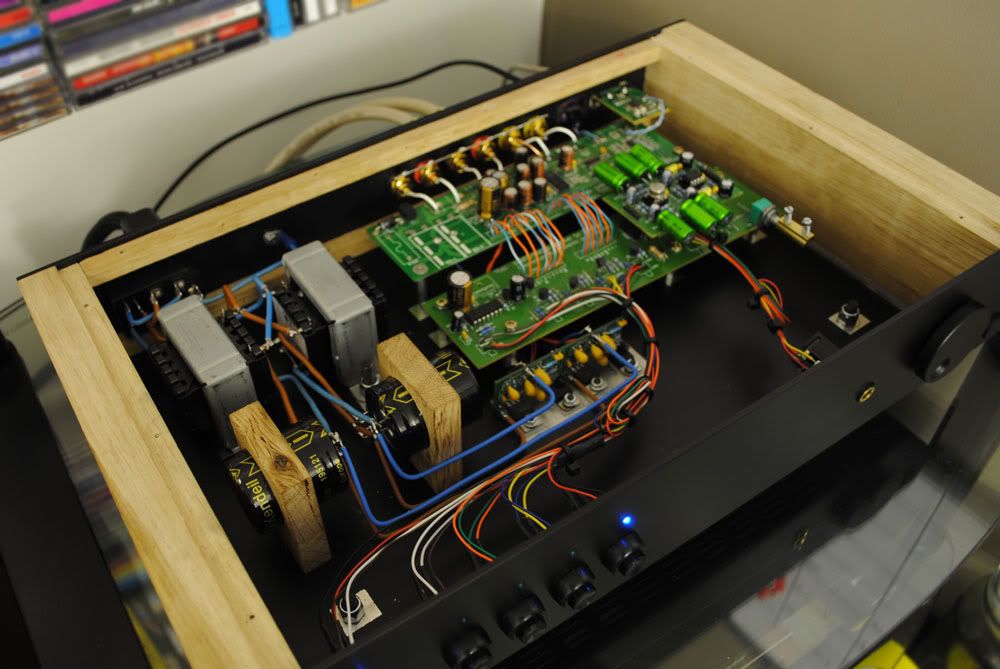
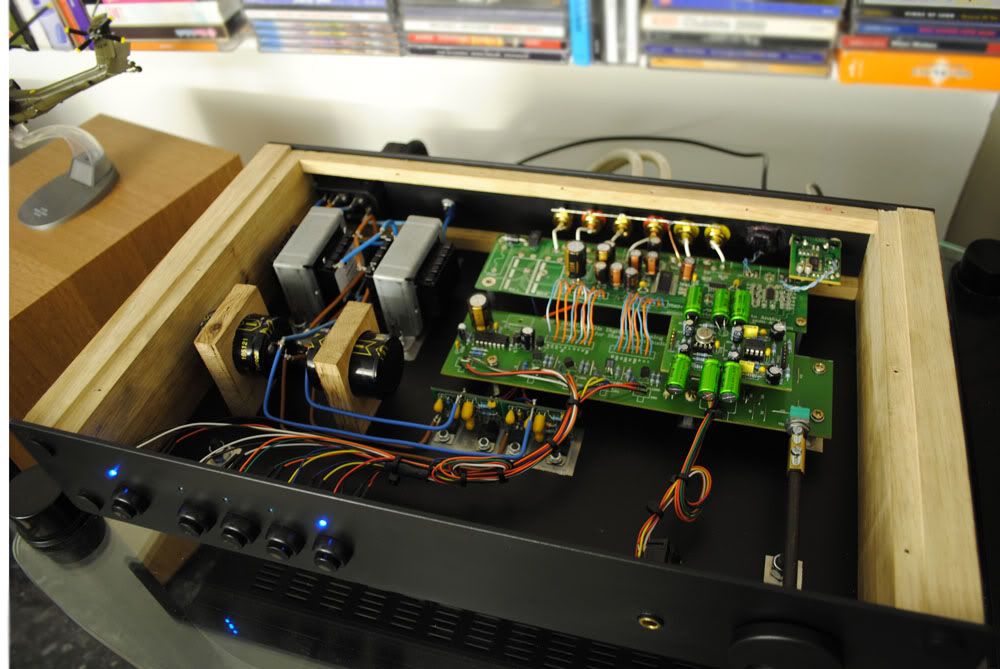
Now for the inside the box...
After my initial plan of using a 18.5v-0-18.5v toroidal was thrown out and 2 separate transformers were recommended:
I have a 9v EI tranny centre tapped -- 2 x 8A Hexfreds -- Kendeil 6800uF -- TeddyReg set to 5v supplying the Wolfson DAC chip.
15v EI tranny centre tapped -- 2 x 8A Hexfreds -- Kendeil 6800uF -- TeddyReg set to 12v supplying the op-amps/leds.
It's early days but wow, what an improvement - Super wunderba, I'm chuffed to bits.
A few piccys:
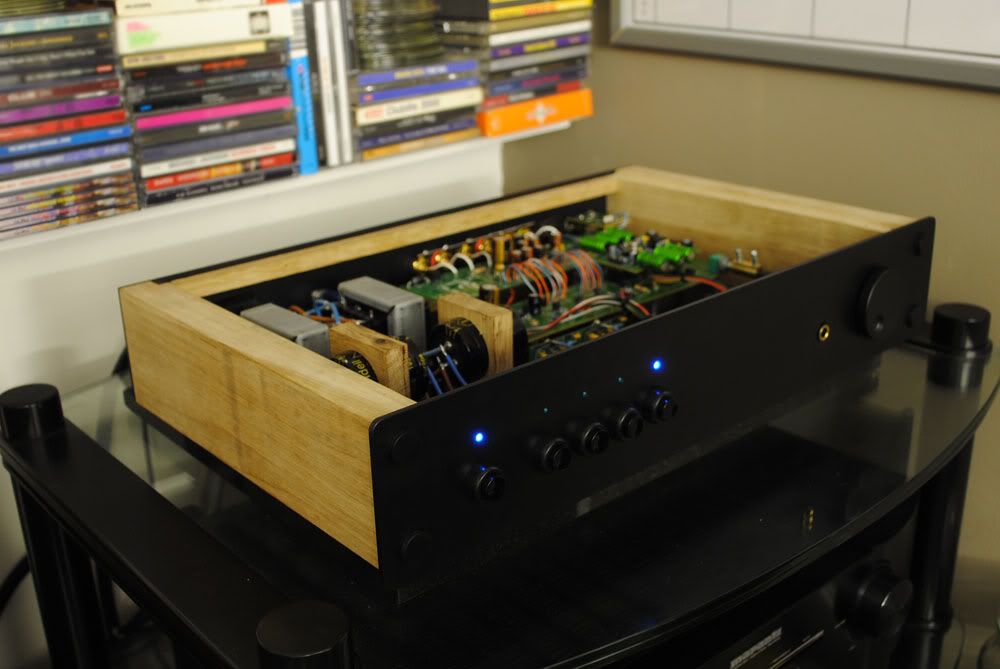
All I need to do is wire-wool the Oak, oil and fit the laser cut decals and the jobs a good one.
I would like to thank misterc6 (on PFM) for helping me with the TeddyReg resistor values, without him and his knowledge I would have been truly stuck, also to Martin Clark (PFM) and his super site acoustica for all the info on PSU's.
Well, that's me done (for now)
Cheers folks,
Ant
Last edited by Ant; 30-11-2011 at 22:45.
Reason: Added 'the back'
 Posting Permissions
- You may not post new threads
- You may not post replies
- You may not post attachments
- You may not edit your posts
-
Forum Rules


 Reply With Quote