+ Reply to Thread
Page 1 of 4 123 ... LastLast
Results 1 to 10 of 37

Thread: Thorens TD125 Restoration

  1. #1
    Join Date: Nov 2010

    Location: Chorley, Lancs

    Posts: 2,734
    I'm Mike.

    Default Thorens TD125 Restoration

    You don't hear too much about this unloved beauty, the successor to the legendary TD124 it certainly had big boots to fill. Released for sale shortly after the TD150 which was more budget orientated the TD125 was the flagship of the Thorens range and with a price to match, it embraced the new solid state technology of the day with a Wein bridge oscillator controlled motor giving you 16, 33 & 45 at the touch of a button (no belt to manually move) and topped off with a Strobe for fine speed adjustment. Like the TD150 the top plate was sprung and the bearing and armboard where mounted to it. Built in the new state of the art German factory this deck should have been a sure thing, but it's price, the fact that Linn had launched the LP12 at about 2/3 of the price and it's complexity meant that it didn't sell.

    Personally I love late 60's and 70's Thorens decks, my 1st deck was a hand me down TD160, so when I found a complete mk1 TD125 going for a very reasonable price on ebay I had to have it. I would have travelled to collect it but the seller was miles away and he assured me that he knew how to pack a turntable so it wouldn't get damaged, I must admit it was packed very very well, however the shear weight of the thing and the flimsiness / age of the plinth meant that the plinth broke at the joints. That didn't bother me too much, the seller refunded me some of my money which was great and I fully intended to re plinth it anyway. What struck me was how heavy it is in comparison to my TD160's, plus the quality and complexity of the construction, apart from the plinth it's on a different planet to the TD160.

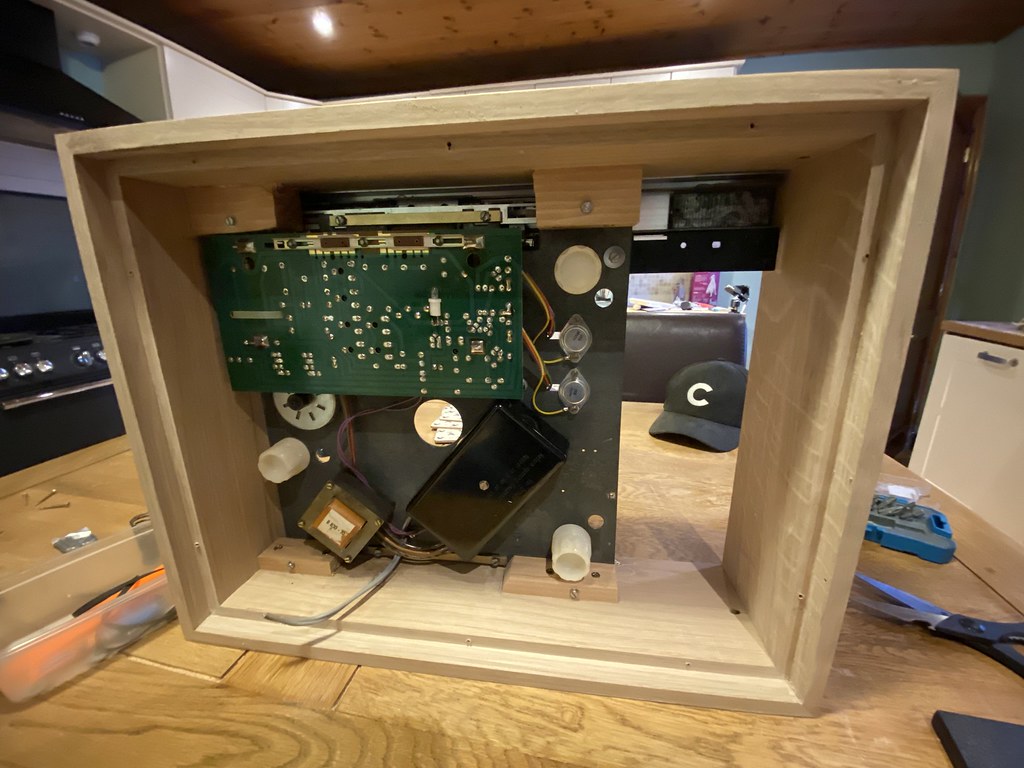
    So i've checked it over to make sure nothing is bent or broken and it's fine, i've plugged it in to see if it works and it's dead quiet at all speeds, as well as holding any given speed well, it looks like it's been recapped sometime in the past the nylon zip ties strapping one of the caps to the circuit board sort of give it away, but at some point through the restoration I intend to fully test the speed control board replacing any worn out components.

    So here's what i'm going to do:

    Disassemble and clean / lubricate
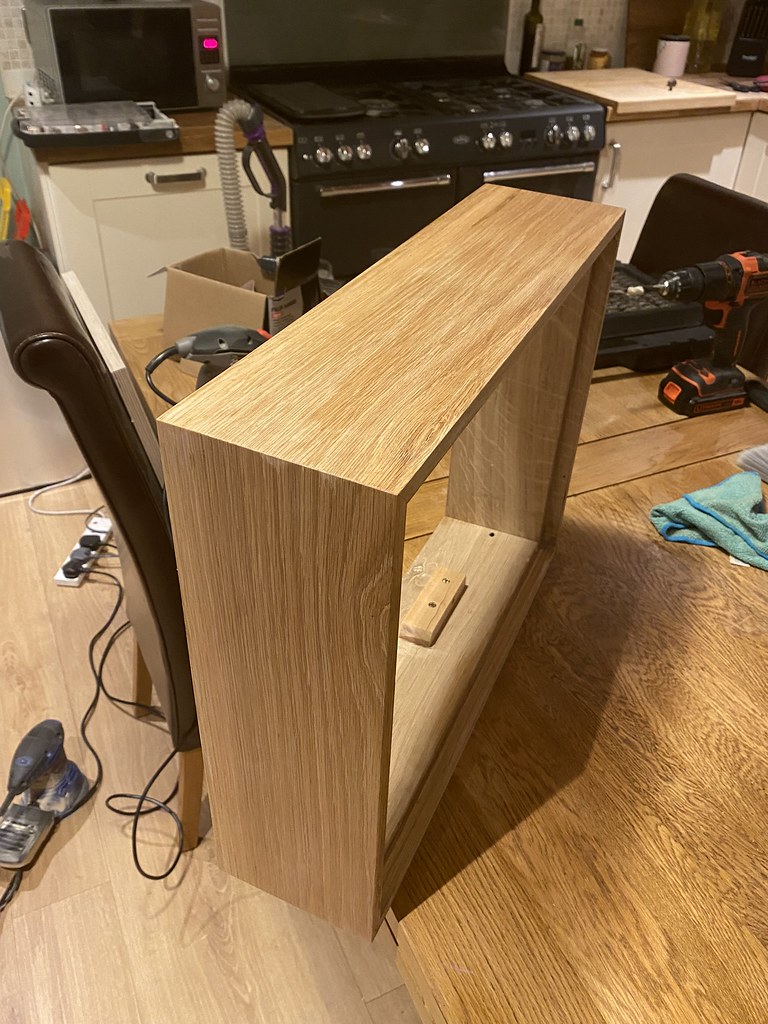
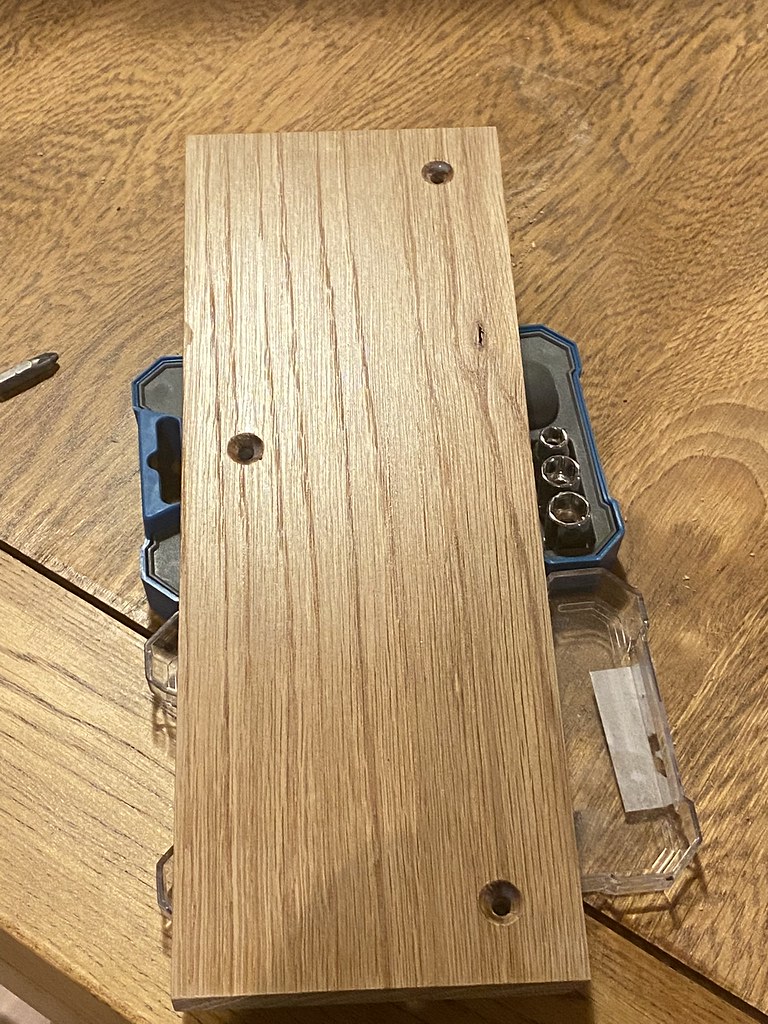
    Re plinth with either a solid American oak or a Veneered Birch ply plinth
    Spray paint the top plate, I think i'm going to go for a metallic black, the stock grey green RAL colour is a bit industrial for my liking.
    remove the power cord and fit a figure of eight socket on the rear of the plinth
    I'm toying with the idea of replacing the springs
    replace the drive belt
    polish the platter and sub platter
    Replace the armboard with either a solid American oak or black Delrin
    Fit my Audiomods Series 6 arm and Audio Technica Art9 cart

    As I get into it I'll take some photos of the work, but for now here's what it was like when I was unpacking it:

    [IMG]IMG_0244 by mike davis, on Flickr[/IMG]
    [IMG]IMG_0245 by mike davis, on Flickr[/IMG]
    [IMG]IMG_0246 by mike davis, on Flickr[/IMG]


    As the late Colonel Sanders once said
    "I'm too drunk to taste this chicken!!"

  2. #2
    Join Date: Oct 2015

    Location: KL, Malaysia

    Posts: 258
    I'm shahrin.

    Default

    Excellent !
    I have a 'long wheel base' one waiting for me to muster the effort . The truth is i get distracted by other projects.
    Mine is the mk1 comes with a 3012 but the plinth is destroyed by termites ! so i carefully binned that.
    There are nice plinths made by a Spanish eBayer which are 'drop ins'. I hope the original cover that i have will fit that
    Look forward to following your project
    Thorens td124 mk2 / Bokrand AB309/ 103r
    SLAT L75 / Jelco 850S / AT VM740ML
    Marantz CD63 / Bluesound / Musical Paradise 701 II/ ESP 500Hz eXO / PL Prologue 4 and Nord 1UP amps / JK Wynn semiactive NS1000 upgrade
    /ESP 700 Hz eXO / JBL 4333 components

  3. #3
    Join Date: Nov 2010

    Location: Chorley, Lancs

    Posts: 2,734
    I'm Mike.

    Default

    ok so as i've said there's a bit more to these than the TD160's I've worked on in the past, Vinyl Nirvana have done a load of videos showing how to correctly take one of these apart, my advice is if you're thinking about working on one watch these videos, a lot of stuff is obvious but they are useful non the less


    The 1st job for me is to paint the top plate a better colour than what it currently is, also while removing the residue left from a one of those record cleaning arms that were so popular in the 70's I've rubbed through the paint in a small but conspicuous area.

    The original paint finish is a grey green colour with a speckled finish so as to cover up any blemishes or imperfections in the top plate casting, it's easily removed with a random orbit sander and a green scouring pad, as my turntable is the Mk1 version the bearing is held in place with 3 screws to the top plate, the Mk2 is a bit different but I think it can also be removed, to keep the screw holes clean i put the screws in place from the other side so they were flush with the top plate. As I've said the original paint finish is speckled to hide imperfections so i decided to go with a high build primer which would cover up little holes and casting lines.

    [IMG]IMG_0250 by mike davis, on Flickr[/IMG]

    After 3 coats of primer and paying special attention to the edges I gave the top plate a light sand with 1200 grade wet and dry, then a wipe over and clean with isopropyl alcohol before painting it Mercedes Obsidian Black

    [IMG]IMG_0253 by mike davis, on Flickr[/IMG]

    [IMG]IMG_0254 by mike davis, on Flickr[/IMG]

    Once completely dry I'll polish out the slight orange peel effect with 2500 grit wet and dry paper, then give it 3 coats of clear lacquer.

    As I no longer have a wife to tell me that the kitchen is not a workshop and not the best place to spray paint anything I used my own judgement and decided it was warmer and closer to the kettle than the garage, so I covered everything up but the smell did track through the house a and linger for a bit.

    Once i've lacquered it I'll post more pictures.
    Last edited by Jac Hawk; 20-12-2021 at 17:50.


    As the late Colonel Sanders once said
    "I'm too drunk to taste this chicken!!"

  4. #4
    Join Date: Feb 2020

    Location: Fife, Scotland

    Posts: 160
    I'm Gordon.

    Default

    Love this kind of work, especially when done sympathetically to a high standard. Looking forward to following your progress Mike.

    I remember the TD125 with great affection when they were the 'weapon of choice' at shows in the early 70s, along with the SME and Shure V15III. This combination was used by virtually all OEMs / retailers for demo purposes and was used in preference to the LP12 which I don't even recall at the time, despite them being available. ( I also remember the early LP12s were offered as a 'kit' for the hi-fi DIYer....LOL).
    Technics SL1000R, DynavectorXV1t, Garrard 401, Jelco SA750LB, Decca Reference, ATVM750SH, AT33Mono, Hana Umami Red, Reimyo CDP777, EarYoshino 912, Ear Yoshino 509s, JBLK2 SL5800s, ART Dram interconnects / speaker cables.

  5. #5
    Join Date: Dec 2013

    Location: north

    Posts: 459
    I'm mick.

    Default

    Enjoyed watching your work on the(familiar)looking '160 a while back.Will watch this one with interest also,looking a very good paint job so far
    Mick
    Nothin' I do don't seem to work ,it only seems to make matters worse!. Jagger/Richards

  6. #6
    Join Date: Mar 2016

    Location: Brighton, UK.

    Posts: 3,098
    I'm Mike.

    Default

    That's gonna look nice against the silver control panel. What sort of plinth you gonna go for?
    Current system 1210 GR. CDP - Meridian G08. Amp -Sugden A21I - Sig. Wharfedale Lintons.

  7. #7
    Join Date: Nov 2010

    Location: Chorley, Lancs

    Posts: 2,734
    I'm Mike.

    Default

    Quote Originally Posted by Mikeandvan View Post
    That's gonna look nice against the silver control panel. What sort of plinth you gonna go for?
    Well my speakers are light American oak with a black leather baffle, so i'm thinking i'll go for an American oak plinth


    As the late Colonel Sanders once said
    "I'm too drunk to taste this chicken!!"

  8. #8
    Join Date: Nov 2010

    Location: Chorley, Lancs

    Posts: 2,734
    I'm Mike.

    Default

    An update:

    So the plinth is done, it was quite tricky to get the exact measurements for where the blocks that the sub chassis sits on need to be located and the bolt holes need to go, also the blocks need to be quite small so they don't obstruct anything, the plinth itself is white oak the same as my TD160 plinth and i've made the armboard out of white oak as well, 3 coats of clear satin varnish and it's all done:

    [IMG]IMG_0039 by mike davis, on Flickr[/IMG]
    [IMG]IMG_0038 by mike davis, on Flickr[/IMG]


    As the late Colonel Sanders once said
    "I'm too drunk to taste this chicken!!"

  9. #9
    Join Date: Nov 2010

    Location: Chorley, Lancs

    Posts: 2,734
    I'm Mike.

    Default

    The Next thing i tackled was the finishing off the top plate and marking the centre for the hole i needed to drill in the armboard for the arm. The top plate took 3 coats of lacquer and a machine polish with a foam pad, i attached the armboard and the bearing housing and then on a piece of paper drew a 222mm line and carefully made a 10mm hole at one end before i cut it out so i could get a better idea where i would need to mark on the armboard, luckily a plastic pen served as a make shift spindle.

    [IMG]IMG_0040 by mike davis, on Flickr[/IMG]

    Moving on, the TD125 is a heavy beast so rather than re attach the newly lacquered top plate i thought i'd fit the presses steel chassis into place 1st, this was a good call as it was a very tight fit and for a while i thought i'd measured up wrong and the plinth was too small, the bright work along the front edge which houses the controls meant that the chassis had to be lowered into place front edge 1st and the adjustment bars which run along the front and rear edges of the chassis needed to be pulled in, once in place though the finish was superb with the brightwork butting up along all the edges which touched the plinth, once in it was quite simple to locate the fixing bolts before i tightened up the adjustment bars and bolted the chassis firmly in place.

    [IMG]IMG_0035 by mike davis, on Flickr[/IMG]

    With the chassis mounted the brightwork edges are protected and allows me to clean the motor and strobe unit, give the brightwork a clean with a damp cloth and mild detergent and then stand the unit on its side and get to work underneath 1st fitting a power socket which in my opinion are much tidier than trailing cables, then testing the capacitors on the PCB which i was banking on being within tolerance as they looked like they had been changed not too long ago, i'd downloaded a copy of the service manual which gave me the values of each component and thankfully all was fine, the next step was to trim the pots so that the fine adjustment wheel was bang in the centre on 33 and 45 rpm and again the manual gave all the instructions needed to do that and all you need is a decent multimeter and to know how to use one. i'd noticed while taking the deck apart, one of the suspension levelling cups was very tight, this seems to be quite common on the TD125 decks to have at least 1 of the cups tight, i remedied the problem by carefully removing them, lubricating with silicone grease and carefully re fitting, the cups themselves are made from what looks like a nylon material and the threads are quite fine so it's easy to cross thread them, but once lubed the problem was solved.

    [IMG]IMG_0037 by mike davis, on Flickr[/IMG]


    As the late Colonel Sanders once said
    "I'm too drunk to taste this chicken!!"

  10. #10
    Join Date: Sep 2014

    Location: Northern Ireland

    Posts: 1,403
    I'm John.

    Default

    Great thread Mike

+ Reply to Thread
Page 1 of 4 123 ... LastLast

Posting Permissions

  • You may not post new threads
  • You may not post replies
  • You may not post attachments
  • You may not edit your posts
  •