

Originally Posted by
WullieD20

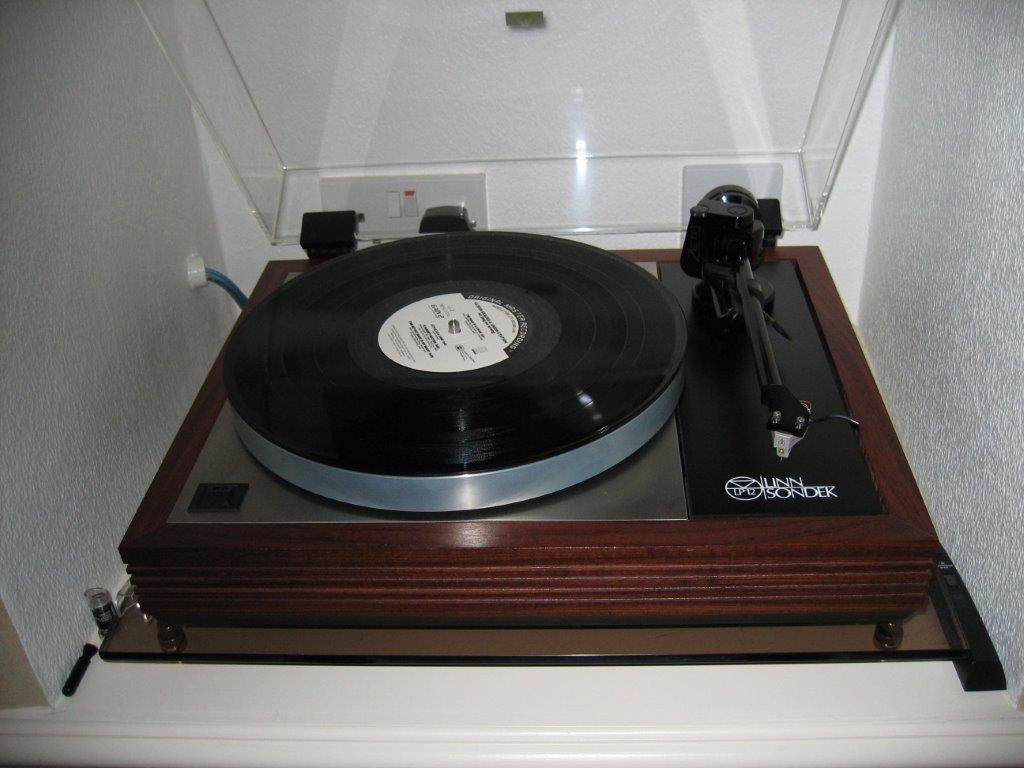
Looks like Afromosia to me, a type of Teak alternative that I believe Linn used in the earlier days. But I'm happy to be contradicted.
Yes I'd say that is Afromosia, the same as my old LP12 from the 80's. I spray painted mine black as Mrs. P didn't like that teak colour. I made a right bollocks of it 
I just dropped in, to see what condition my condition was in
T/T: Inspire Monarch, X200 tonearm, Ortofon Quintet Blue. Phono: Project Tube Box CD: Marantz CD6006 (UK Edition); Amp: Musical Fidelity A5 Integrated.
Speakers: Zu Omen Def, REL T9i subwoofer. Cables: Atlas Equator interconnects, Atlas Hyper 3.0 speaker cables
T'other system:
Echo Dot, Amptastic Mini One,Arcam A75 integrated, Celestion 5's, BK XLS-200 DF
A/V:
LG 55" OLED, Panasonic Blu Ray, Sony a/v amp, MA Radius speakers, REL Storm sub
Forget the past, it's gone. And don't worry about the future, it doesn't exist. There is only NOW.
KICKSTARTER: ENABLING SCAMMERS SINCE 2009


 Reply With Quote

 . . Never a good result, eh? Out with the Nitromors!!
