+ Reply to Thread
Results 1 to 7 of 7

Thread: Change 1200mk2 faceplate - any advice?!

  1. #1
    Join Date: Jun 2015

    Location: London

    Posts: 13
    I'm Robert.

    Default Change 1200mk2 faceplate - any advice?!

    Hi All.

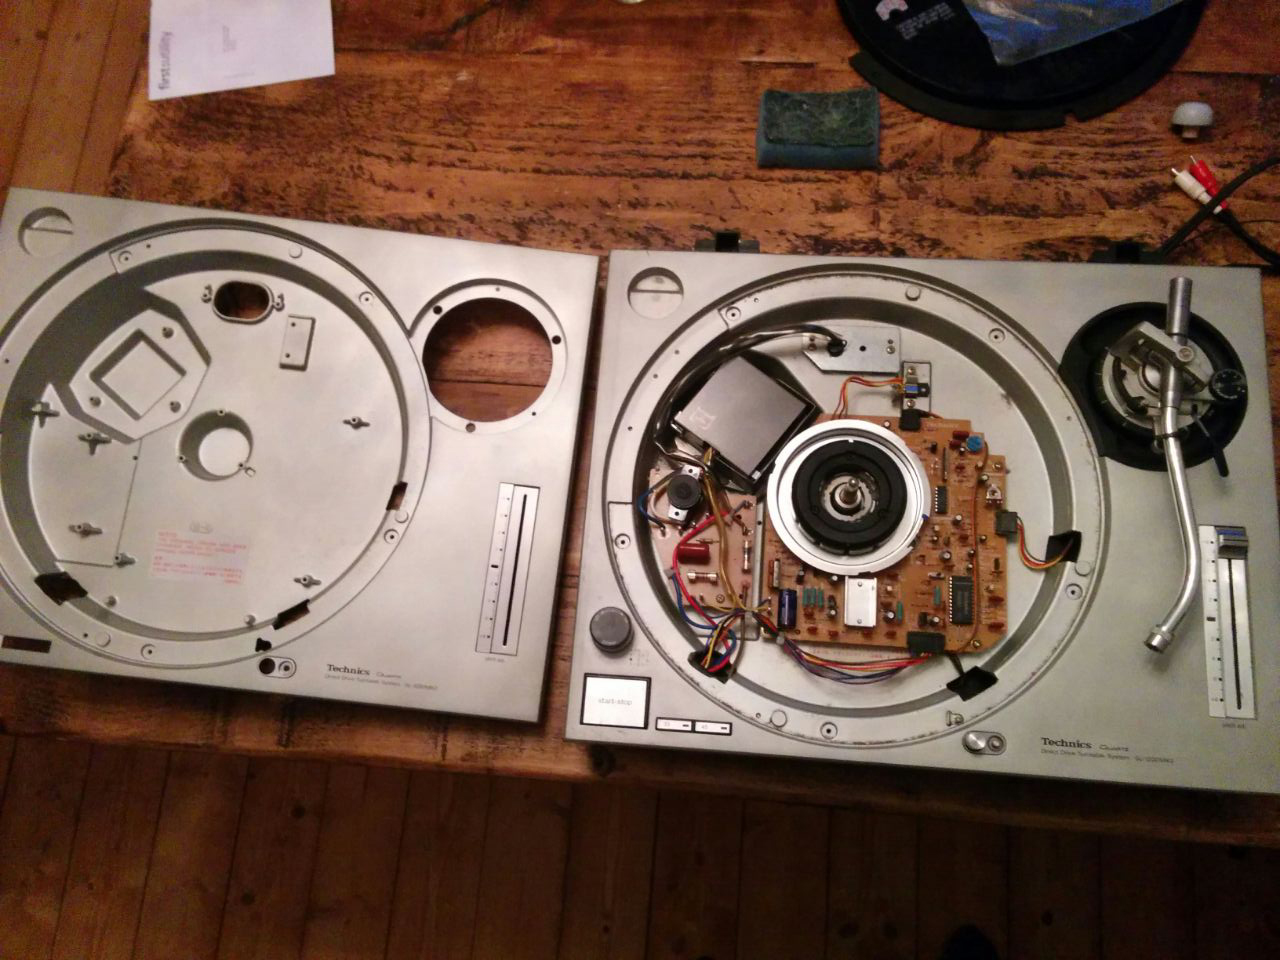
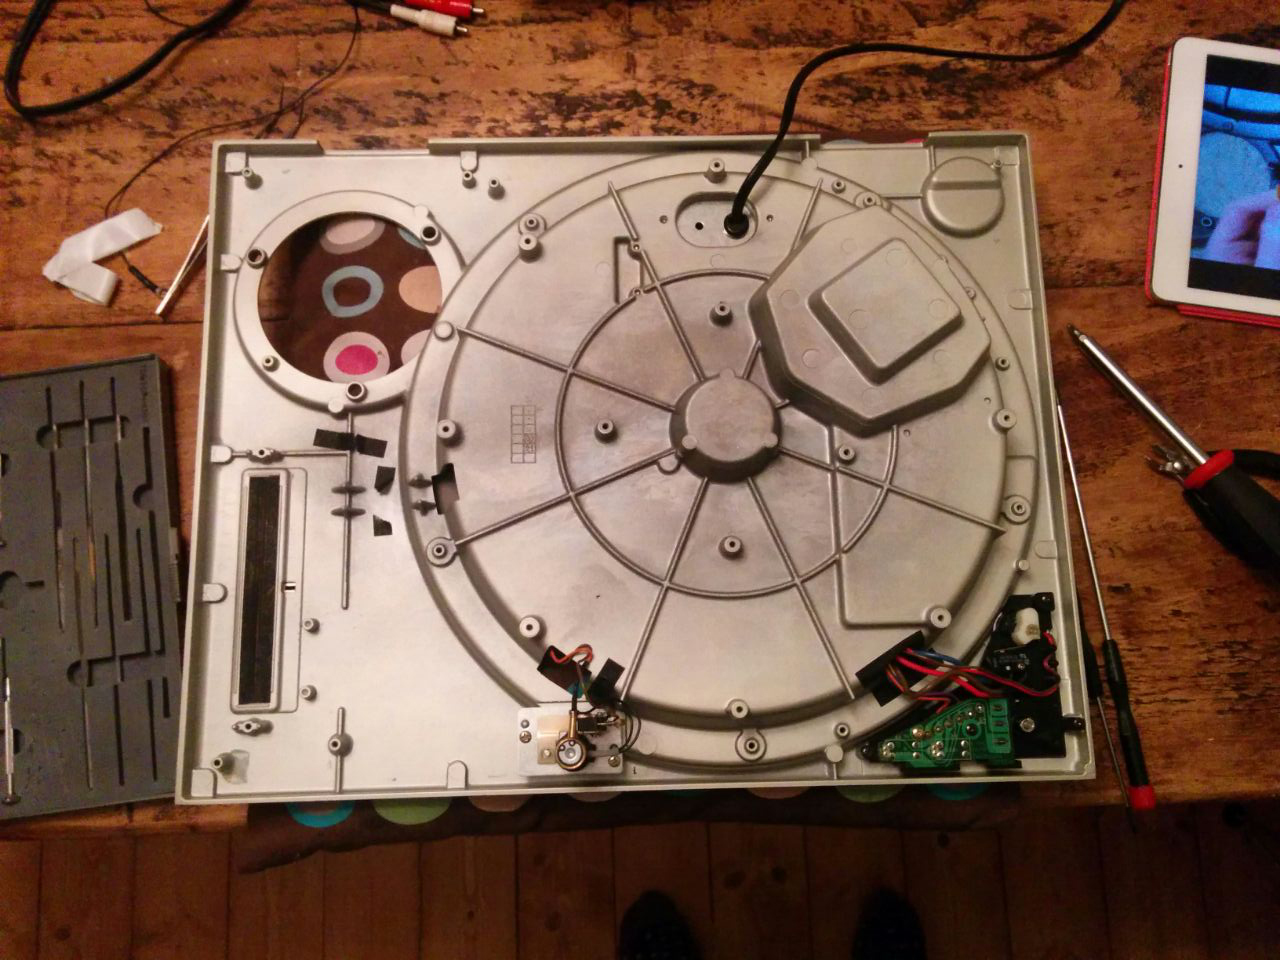
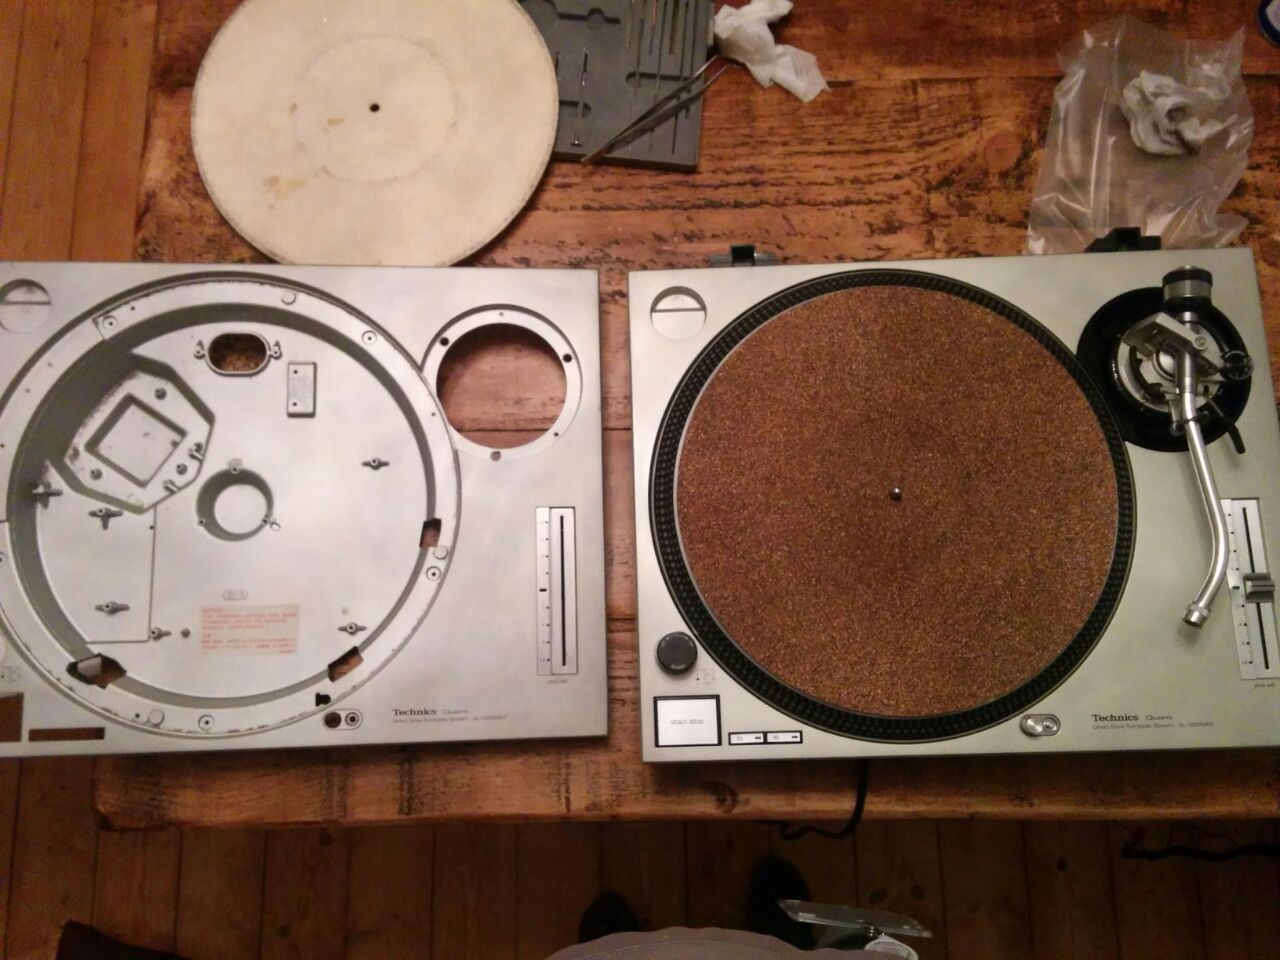
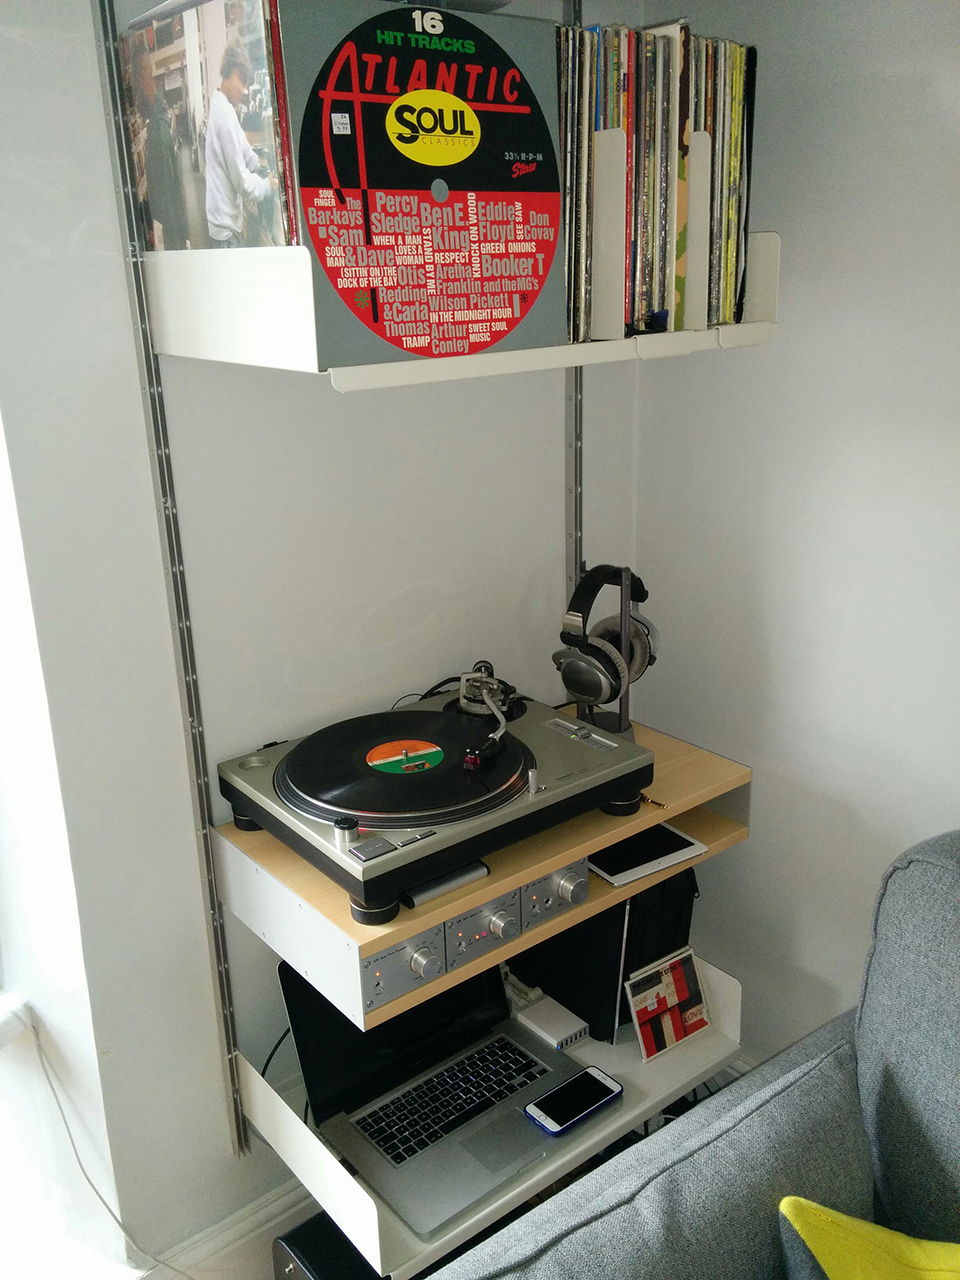
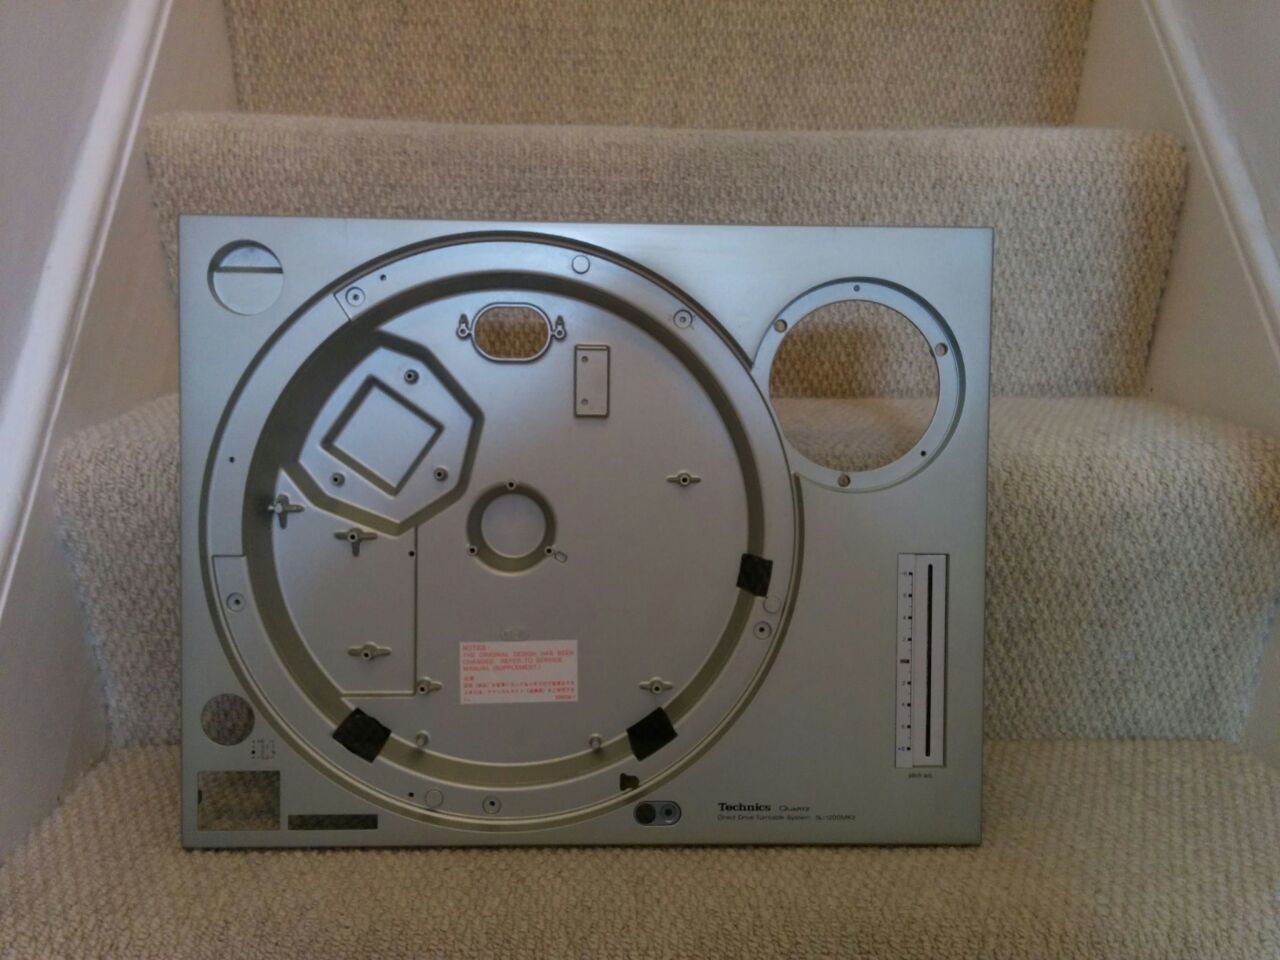
    Have joined for some advice on a project that i'm about to undertake. I have 2 technics 1200 mk2's from back in the 90's when i used to DJ. They look their age and have been through life with me now I'm old settled down and only use one. But it could do with looking better! So i managed to source a new faceplate that i'm going to try and swap out on the deck that's not in use. I've been recommended this form for advice. So any threads that are worth me reading?

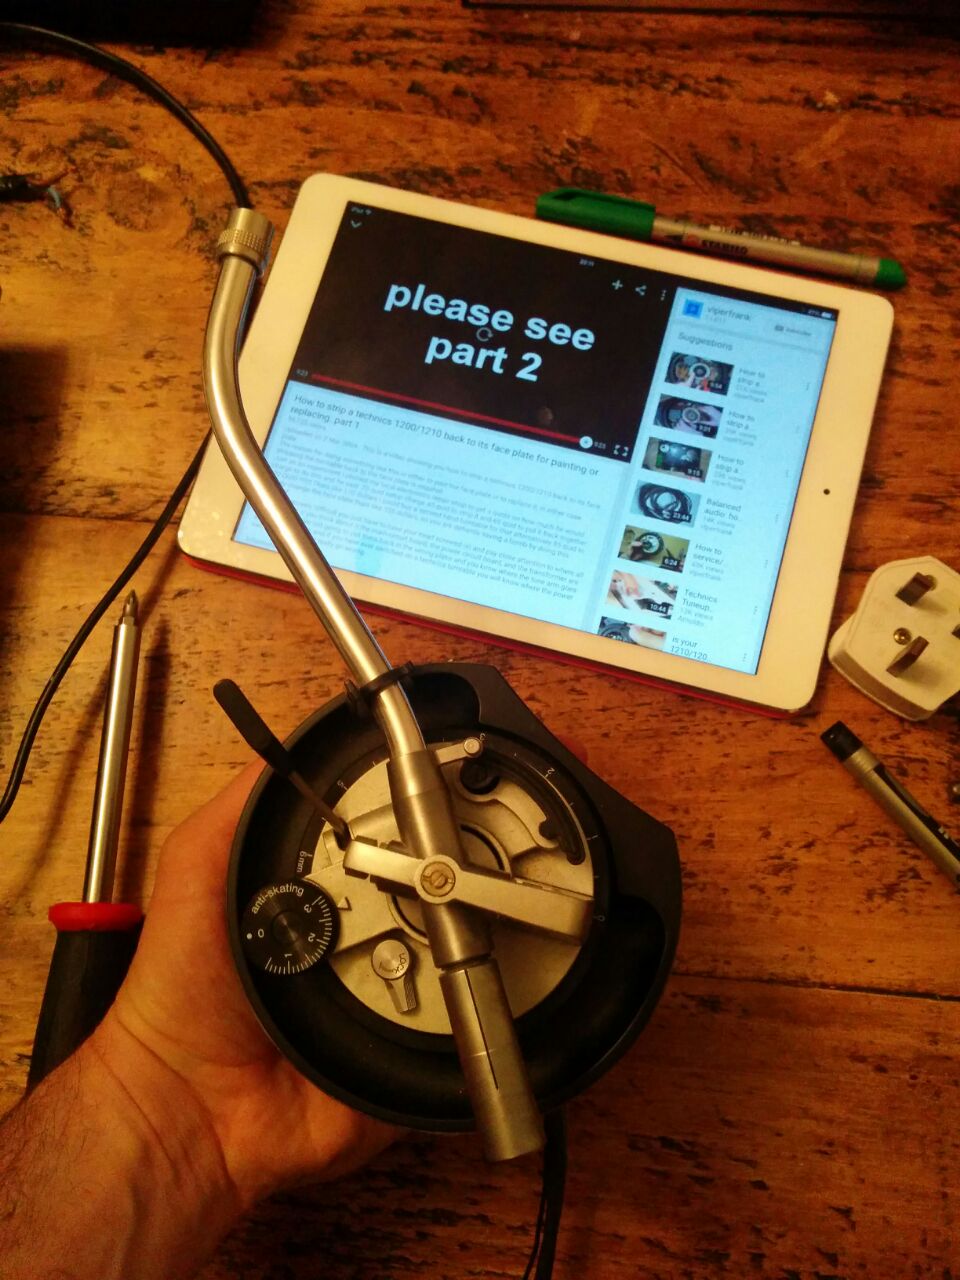
    I have of course watched Viper franks you tube videos here: https://www.youtube.com/watch?v=CDYgjwdQ55s these have at least given me the confidence to try and do it It doesn't look that fiddly and my plug isn't moulded on anyway (never was) so the soldering bit can be skipped too!

    On question is where should i get some more of that heat compound from?
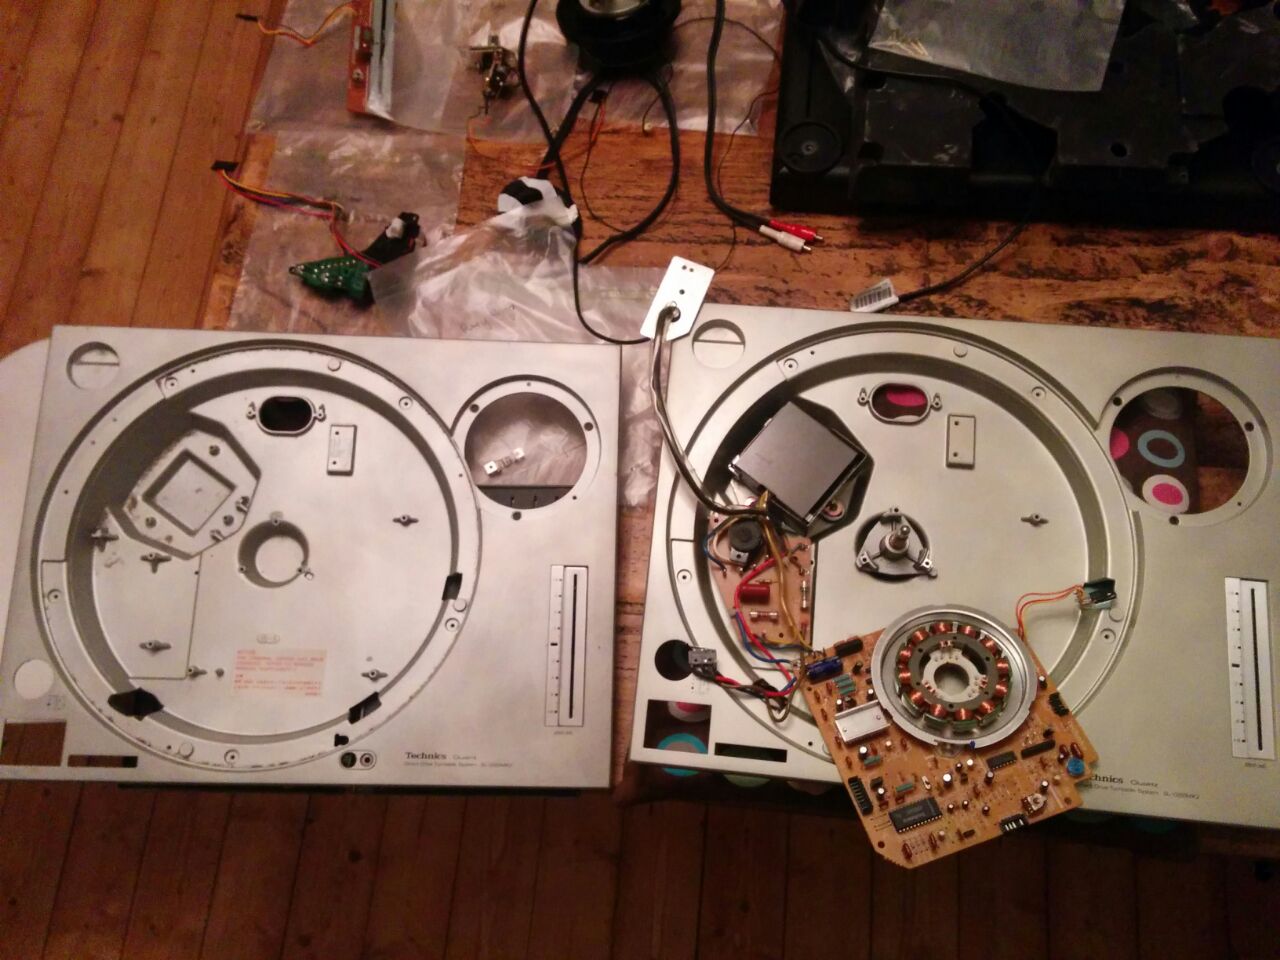
    New faceplate! :

    Cheers for any advice.
    Rob.

  2. #2
    Join Date: Jan 2015

    Location: England / Japan / New York

    Posts: 201
    I'm Adam.

    Cool

    Hi Rob,

    First I can tell you that dismantling / reassembling the Technics really is not a daunting task. In fact it is made particularly easy for us due to the logical and modular nature in which the deck is designed.
    Much like many on here, over the last few months I've rebuilt several of these about a gazillion times! (I've been playing around with different mods and upgrades to try and find what worked best for me).
    Off the top of my head and in no particular order I can think of the following:-

    1. The 4 long screws you remove from the base. One of them screws into the plastic moulding that forms the on/off/speed switch assembly. Don't do this one up more than finger tight on reassembly of you will strip the weak plastic thread. (It won't really matter if you do but you will kick yourself)

    2. Take your time with all the screws on reassembly. Most of them screw into the aluminium chassis so take your time to ensure you don't cross thread any of them.

    3. When you get to the point where all the ancilliary pieces are removed and you are left with the chassis / pcb / power supply bits - thread the power cable through the chassis, remove all the screws - if you are careful (ideally with an assistant) you will be able to lift the main board, the power supply pcb and transformer all in one go and move it over to the new chassis (At which point you will suddenly realise how little there really is to the job!)

    4. You may find (as I did before fitting an external PSU) that the thermal paste is still 'soft' and can be transferred with the regulator. If not Maplins will sort you out.

    Other than that it's all very straight forward.
    One last thing, you will definitely find it useful to label all the screws you remove as you go.
    After about the 20th time you will be able to do it with your eyes closed :-)
    If you were nearer I'd offer to do it for you but to be honest you'll probably get a good sense of satisfaction from doing it yourself anyway!


    Hope that helps.
    Last edited by aniki; 22-06-2015 at 12:13.

  3. #3
    Join Date: Jun 2015

    Location: London

    Posts: 13
    I'm Robert.

    Default

    Thanks for the vote of confidence Aniki,

    Yep watching the You Tube video through last night i didn't see any parts that had me worried, more a case of being organised and methodical!

    I should be giving it a go soon i recon.

    Cheers
    Rob.

  4. #4
    Join Date: Jun 2015

    Location: London

    Posts: 13
    I'm Robert.

    Default

    Actually i had another question - it says that the design has changed on the new face plate and it appears to have less holes for screws on it than the older ones, is this going to be an issue? Or have all internals stayed the same?

  5. #5
    Join Date: Jan 2015

    Location: England / Japan / New York

    Posts: 201
    I'm Adam.

    Default

    Quote Originally Posted by Bigbob666 View Post
    Actually i had another question - it says that the design has changed on the new face plate and it appears to have less holes for screws on it than the older ones, is this going to be an issue? Or have all internals stayed the same?
    Yeah don't worry about that. The only thing you will notice is that if you look at the screw hole just to the left of that sticker, the earlier cabinets had a little 'spigot' here which kind of aligned the main board before doing up the screws. It's absence won't be a problem; it's not really necessary.
    Other than this you shouldn't find anything isn't where you need it.
    -
    The only other thing I thought of since my first post is the earth wire for the tonearm (Assuming the deck has the standard arm). The arm is earthed internally to the pitch slider PCB via one of the pitch slider mounting screws. Remember to remove this before removing the arm assembly.
    It means you have to have most of the deck apart before removing the arm but it elimiinates the need to do any de-soldering as once this earth is disconnected you can remove the whole arm assembly as a complete unit.
    That will probably make a bit more sense once you're in there and can see how it all works!

  6. #6
    Join Date: Jun 2015

    Location: London

    Posts: 13
    I'm Robert.

    Default

    cheers.

    Yep Viper Frank covers the little attached earthwire in his dismantling. i may even give this a go tonight

    Cheers
    Rob.

  7. #7
    Join Date: Jun 2015

    Location: London

    Posts: 13
    I'm Robert.

    Default

    Hi all....

    So i've been after a new faceplate for my techie 1200mkii for a while now, and the other week i found one on ebay so i bought to change my spare deck that has resided in the loft for a few years now.

    I had watched Viper Franks tutorial here: https://www.youtube.com/watch?v=CDYgjwdQ55s and was reasonably confident it was something that i could achieve.

    So some pics:

    New Faceplate:


    Old deck right new deck left:


    Underside - that brittle black plastic bit is where a lot of the weight of the techie comes from - seems like its for dampening purposes


    Tone Arm out:


    Fitting onto new face plate:


    Rebuilding bottom


    NEW DECK!


    In position!


    Over all it was pretty straight forward. When i completed it the platter wasn't flat. A little bit of research suggested that the motor screws weren't screwed in fully. All the advice was not to use mechanical screwdrivers, but for these i needed to use my drill, i set it to very light torque tho! Once these screws were screwed in fully everything seems good! And it looks like new!

+ Reply to Thread

Posting Permissions

  • You may not post new threads
  • You may not post replies
  • You may not post attachments
  • You may not edit your posts
  •